

Last month Kristen inquired about correct sleeve grain. This picture (my coat mock-up from the Ready To Wear Tailoring Sewalong) shows the sleeve grain marked in pen. This is a one-piece sleeve with a back sleeve dart, ie a slightly shaped tube.

You can see the lengthwise grain following the curve of the arm, almost vertical throughout the upper arm, and veering slightly forward in the lower arm. There is a compromise here, as the ‘tube’ can only bend so far without creating unsightly wrinkles in the front elbow region (demonstrated very clearly by this 100% polyester bridal satin!)
On a two piece sleeve, the grain would be almost vertical all the way down the sleeve, as the sleeve itself is shaped to bend forward in the lower arm. This shaping minimises front elbow creases and is a superior fit, although more complex, usually incorporating a sleeve vent as well.
Let’s not forget the horizontal grain – on a tailored sleeve like this it should run horizontal in the upper arm area and the sleeve cap. Paying attention to the grainline is very helpful when sleeve fitting.

Another question from last month – your fabric is off-grain – what to do?
I’ve never had success with the twist and pull method. I’ve tried a few times and ended up with a distorted worse mess than when I started! In my experience the best thing to do is to “listen to the cloth”. In other words, if the cloth is stable and hangs nicely, just follow the lengthwise grain as per usual. This is the most dominant grain and the horizontal grain usually maintains its relationship with it.

If you chalk around the edge of your pattern, then the innermost edge of the chalk line is equivalent to the edge of your pattern, and is where you should be cutting.

I often see people cutting outside the line – on a princess seamed garment this could add a massive 2.5cm/1″ to the body circumference – that’s half a size!

Make life easier and sew details early on in construction. This 1970’s Vogue pattern instructs you to attach the patch pockets when the garment is almost finished. I think this is the hard way!

Sewing a pocket neatly is far easier when the front is flat, and unattached to other pieces.

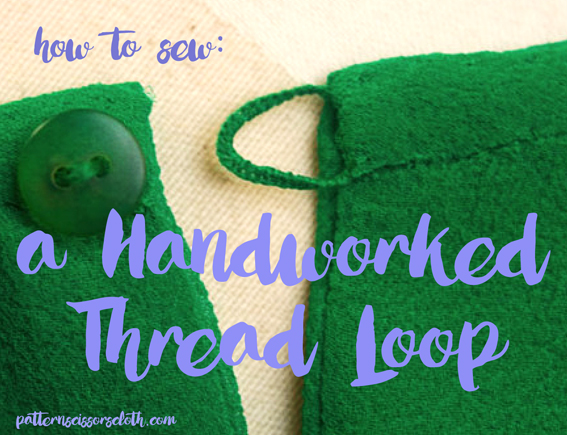
Do you like the hand finished touch of a thread loop? I love how it is nearly invisible as the thread colour matches the cloth. Plus you can make a shorter version as a bar for a hook closure. Here’s my how-to from 2011:
Enjoy! Do you have any questions for next month? I love answering questions – fire away!

LOVE, LOVE, LOVE your tips! Hope you don’t mind me linking to them on my blog. How do I get to the 5th tip about the thread loops?
LikeLike
Thanks Faye, and I really appreciate you linking to them! I mistakenly omitted the link to the thread loops tutorial but it’s fixed now – I always forget something lol!
LikeLike
I love your tips too Sheryll – I never read or see them anywhere else! I’ve never chalked around a pattern then cut it out but I keep thinking about doing it. Do you think this is easier than pinning and cutting?
LikeLike
Thanks Kathleen! With a little practice chalking is really quick, and more accurate too, but your pattern paper does need to be sturdy!
LikeLike
Thank you – terrific tips as usual, Sheryll! Just wanted to mention too that the link to the thread loop tutorial seems to be dysfunctional.
LikeLike
Thank you! I completely forgot the link, but it’s fixed now!
LikeLike
Thanks Sheryll. Really useful tips as always!
LikeLiked by 1 person
Wonderful tips as usual!
LikeLiked by 1 person
I love your tips! thanks so much for sharing. I never thought about how cutting outside the chalk line is the wrong side compared to the pattern piece; you’re absolutely right!
LikeLiked by 1 person