There is a quote that still rings in my ears twenty years after I first heard it, and I think that is because it totally changed my approach to sewing – from a home sewer to a more professional one. It was from a tutor at tech, and it went something like:
“A machinist sits at the machine to sew – they are not there to pin things together, they are there to sew them together! They are not there to trim things, mark things, or check that things fit together – these should already be done. Unless that machine is making a noise there is no sewing happening, and no garments are being made!”
Although aimed at maximising production in a factory, this still applies to the home sewer who wants to increase their efficiency don’t you think? It pays to check occasionally whether some of our habits really contribute to sewing a quality garment, or whether they are just a good way to fill in time!
I know this quote runs through my head every time I sit down at the machine with a new bundle, so that sort of explains my basic and random method of construction, that is:
- to sew everything that can logically be sewn together, then go to the press, then go back to sew more things together, then go to the press, and keep repeating until you’re finished!
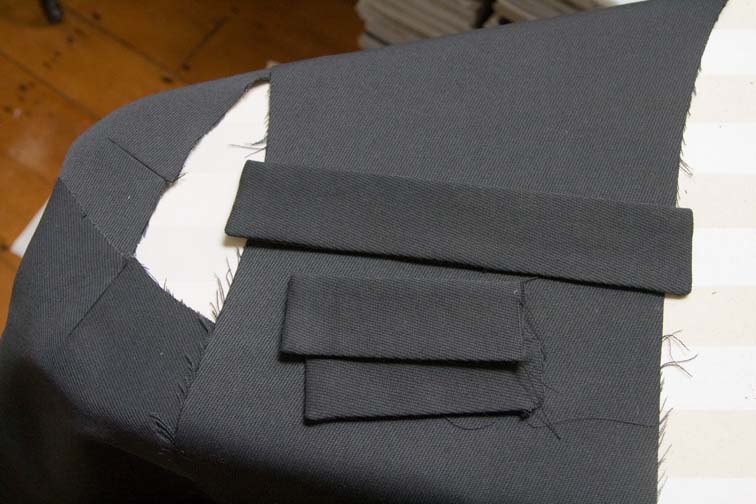
- make things easy on yourself – don’t sew so far ahead that you make other areas difficult to sew – ie, complete your front pockets before sewing additional panels to the front, don’t sew across unpressed seams, sew those small pieces (like flaps and epaulettes) first so they are ready to attach to a larger piece, complete the sleeve unit before setting it in, etc.
- follow your nose, not the instructions! Ha ha that’s not strictly true, I just thought it sounded good, but if you know your pattern inside out, it is true that you won’t need many instructions.
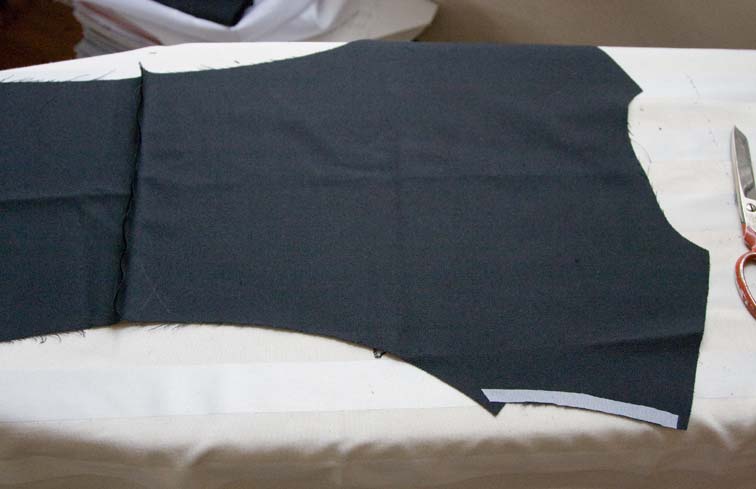
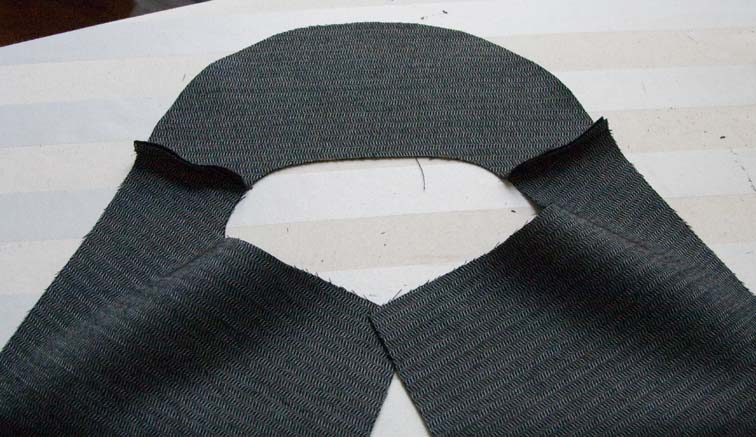
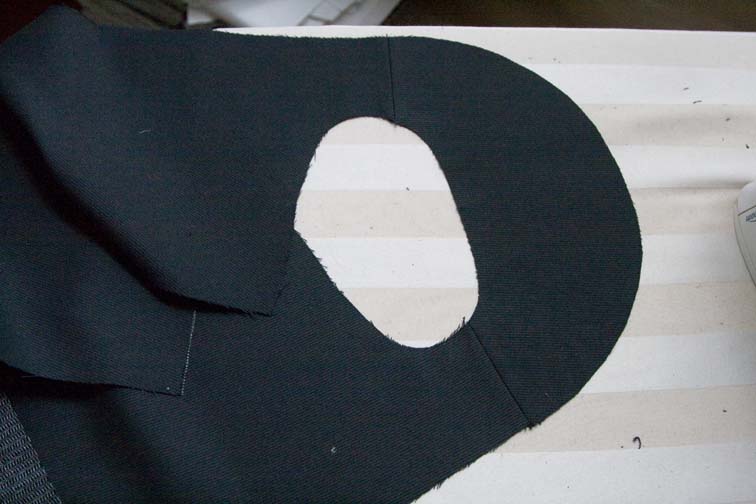
First I sewed the waistline seam on the centre back panel – this is a seam I had to add so I could fit my coat out of the scraps of available cloth:
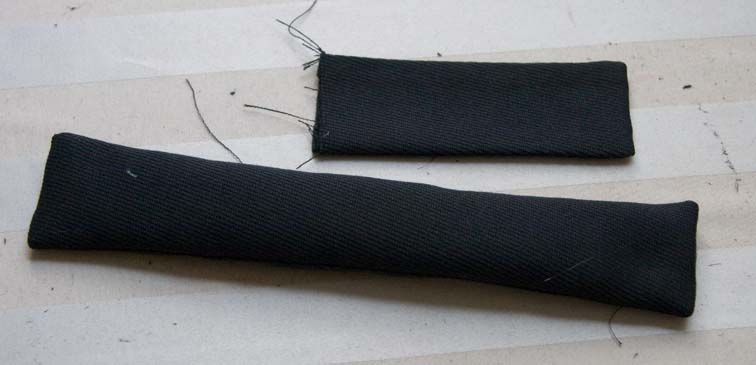 |
| There’s another epaulette somewhere! |

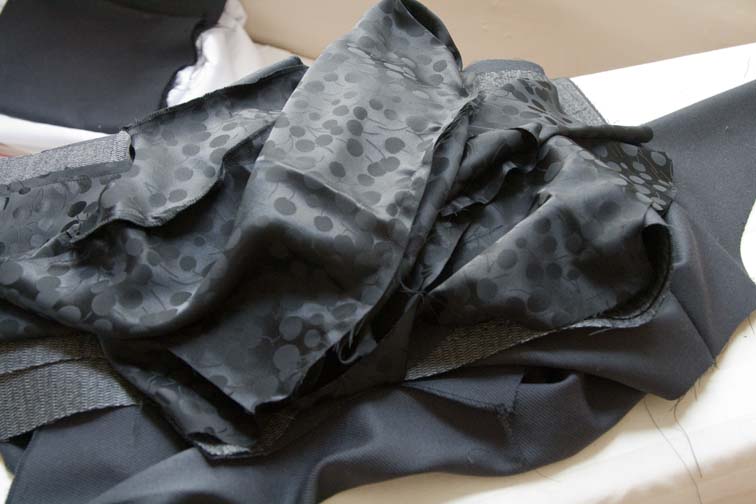
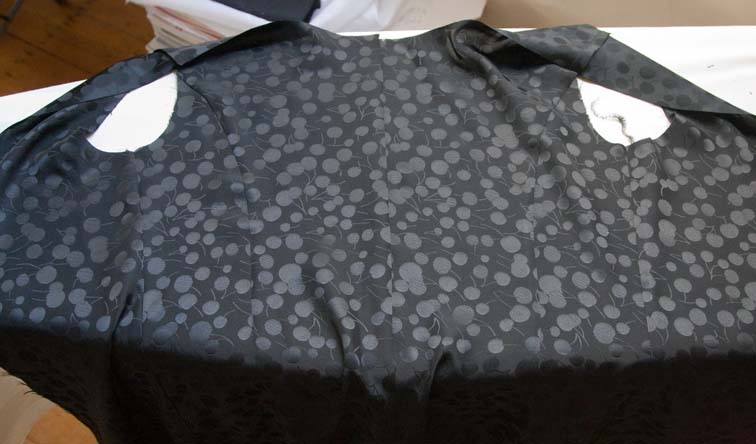
And I sewed the lining body pieces together – I also overlocked the lining seams because I will probably leave my hem open, if you are bagging out your hem you won’t need to overlock:


Now all my pieces are prepared for the next round of sewing! For the record that took about an hour at a leisurely pace, stopping to take photos along the way. (OK, I didn’t count the bit where I had to unpick an epaulette!)
Tomorrow – jet pockets, I promise!

Yay! Everyone in my house is sick, it seems I have a little more free time lately. Go figure. I'll get to work.
LikeLike
A key difference between a machinist and a home sewer is that a machinist is working on pieces produced by a cutting machine that were cut from a professionally made and tested standard pattern. A test garment has been made and it's already known that the pieces sew together. Also, if you're sewing the same garment 100 times, you will improve. There's always going to be a learning curve created by new fabric and thread.
I agree that anyone should try to be efficient, but the two roles are quite different. A home sewer is more in the position of a sample maker. I'm sure that if a pattern doesn't work s/he makes the necessary adjustments and sends back notes to the pattern maker and designer.
LikeLike
Hooray! We're sewing!
LikeLike
Frankly, I think that in the end that it's more efficient for a home sewer to do many things that a machinist would never do, for example, basting. That's because a home sewer usually does not have the luxury of making several tests.
It's better to do everything that might ensure a perfect result. It takes less time to baste a seam than it does to rip one out and resew it.
LikeLike
~Anonymous #1 – Thanks for your comment, but I do disagree on a couple of points!
The cut pieces produced by a cutting machine are no different to the pieces I have cut at home with my shears, they are accurately cut, have nicks in the seam allowances and chalk dots where the drill holes would be, and are exactly what a production machinist would receive in her bin.
Most of us in the sewalong have pretested our pattern in three ways – we have made a calico toile, and we have checked the seam allowances on our pattern fit, and we have refined our pattern so our garment can be constructed using faster production methods. We know our pieces sew together.
I agree the home sewer is more akin to a sample machinist, but the above quote applies equally to a sample machinist – they are there to sew a sample and determine its production time, as well as detect any errors. It is not their job to make adjustments of any sort, that's a sackable offence in my opinion! As a patternmaker I would expect to determine any adjustments that were needed.
LikeLike
It is so exciting to see the garment coming together. I am very keen to get “back on track” – I'm wondering if I can bribe my husband to do take over child minding over Easter and whether I can catch up.. there are so many things over the last couple of posts that I'd like to try.
LikeLike
~Anonymous #2 – I agree – a perfect result is the desired outcome! A home sewer can do some tests though, eg make a muslin, walk the seams. Home sewers also have time on their side – if manufactured clothes were basted for instance they'd cost thrice as much and we wouldn't want to pay! I never baste, but I must admit the quick-un-pic is my friend!
LikeLike
Oh I want to sew and I still have to finish tracing my pattern and making my toile. At least my fabric is ready to go.
Your posts are so inspirational, thank you so much.
LikeLike
I love your quote. There are so many things I've picked up from production sewing–or at least those of you who blog ;)–that has really improved both the quality and quantity of time I spend on sewing itself.
LikeLike
Yay! Sewing!
I was very happy to learn I am “allowed” to use pins as little as possible… Though I imagine I still use them more than a pro would. Efficiency is definitely something I could use some work on, though…
LikeLike
This is so exciting! Sherry, I agree with you entirely – with your method of creating very exact paper patterns first, the sewing can definitely be as fast and efficient as with a pro. If we did the “haute couturesque type” of sewing, where we'd be handbasting everything and make adjustments to the fit and pattern then, it would be a different story… Sewing from these pieces was a treat! I was definitely NOT as fast as you (I had some darts and gatherings to deal with), but faster than I would normally have been. And your quote helped me: I usually run to my dressform after every single seam, just to see how it looks. I pin it to the form, see it hang, sew another seam, pin it to the other piece, then I have to take all the pins out again to sew those pieces together… highly inefficient! Thanks to you, I didn't waste as much time…
This has been amazing so far. Thank you so much for spending all this time on this tutorial!
LikeLike
Amazing instructions so far (and I'm sure future ones will be as good)! I am very delayed in my jacket construction but bookmarking all posts to go back to them. Thank you!
LikeLike
Yeah, I am finally caught up and about to start sewing. This has been an amazing learning experience so far! Thank you so much for doing this.
I was wondering if you are going to show us how to set in a sleeve? I had trouble doing mine in the muslin and was wondering if there are any special tips that you have.
Thanks!
LikeLike
~Rebecca – yes I'll cover setting in sleeves, this can be an area of difficulty!
LikeLike
Sherry, I am randomly going thru your posts. Sunday morning and still in bed..lol. I so want to join along. With Easter coming along I am sure I will be able to catch up. Thanks so much for doing this. I am off to select and pre treat some fabric.
LikeLike
Hi Sherry, Unfortunately I have to abandon the Sewalong… I am way behind, but I have also never sewn a jacket before. After trying to figure out how to use your steps on my pattern, I decided I'd better just follow the Burda steps for now. Once I understand the basics of sewing a jacket, I can maybe try an RTW version later!
LikeLike
Hi Sherry, I'm just about to sew my two piece sleeves – I'm following your steps, as well as glancing thru those provided with my pattern (Style Arc Sara Jacket), anyway, they say to leave a small opening in the left sleeve seam to bag out in the final stages of construction. Not sure what I should do.
LikeLike
~Lisa – it will be much easier to apply the pattern adaptations to a Burda pattern where there are no seam allowances added!
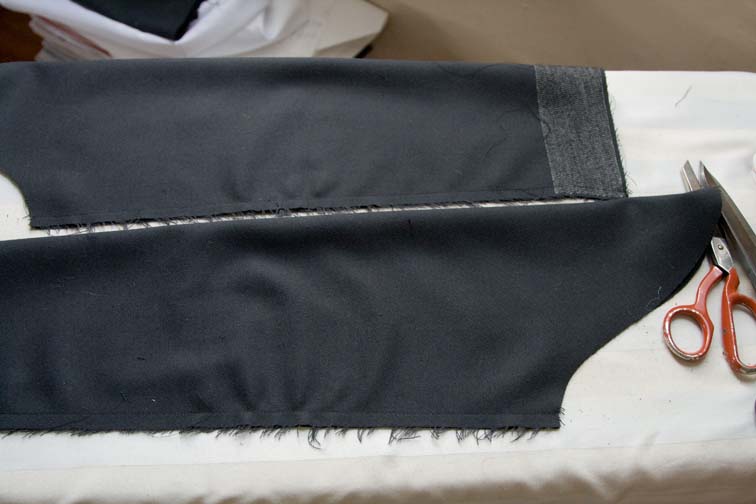
~Handmade – the sleeve lining foreseam is left open slightly so the jacket can be bagged out. I have done this above – sew a few cm down from the underarm, and a few cm up from the cuff, leaving an opening of about 20-25cm. It sounds weird for now, but you'll see why later!
LikeLike