Some rouleau loop ideas, from the depths of my wardrobe…..
 |
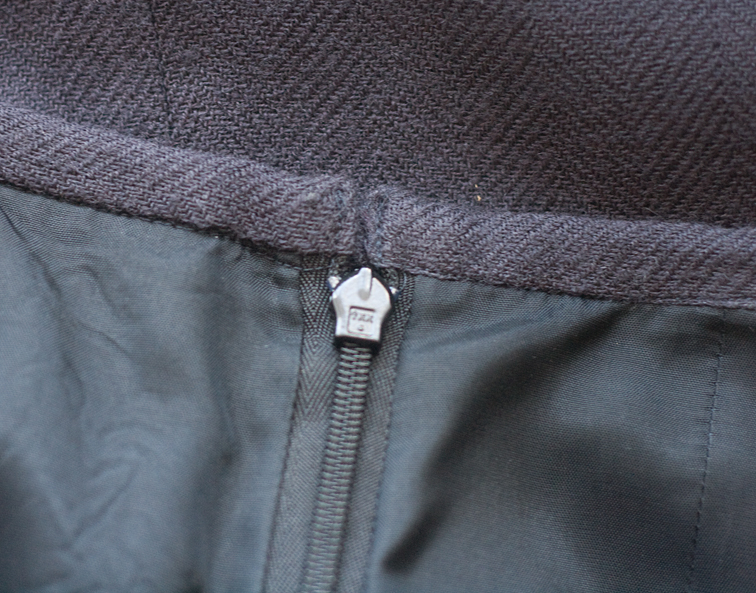
| some flat loops of silk inserted into a double folded CB edge… |
 |
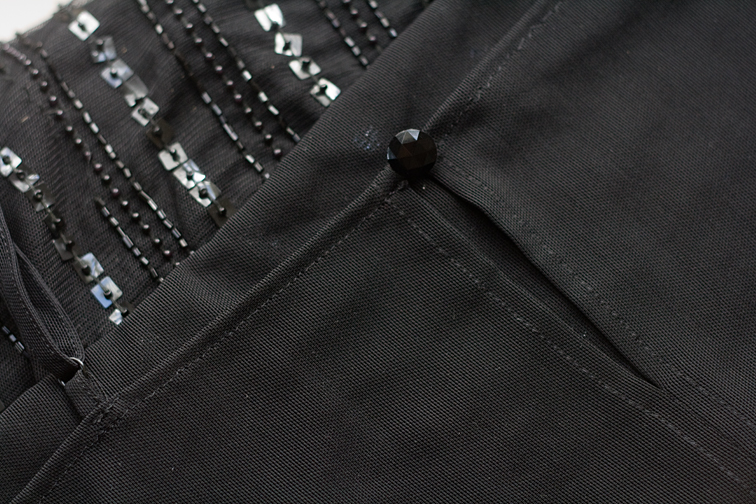
| A keyhole opening with a single button and loop, on a camisole back… |
 |
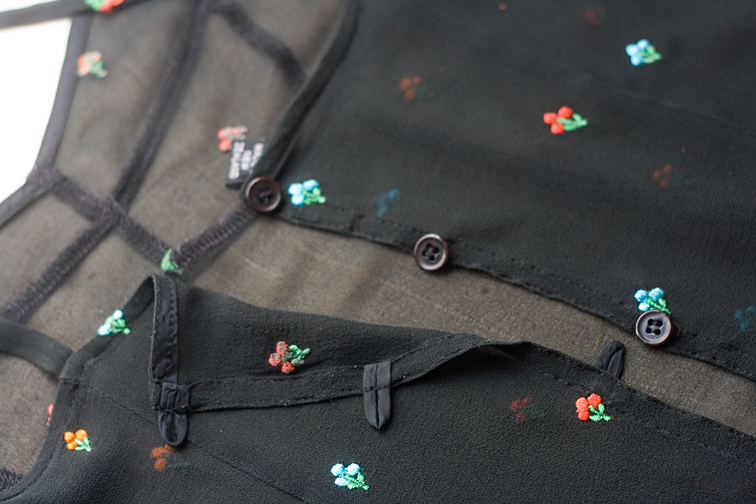
| a skirt waistline, bound and finished with a button and loop… |
 |
and it’s reverse…
(hopefully this answers your question Myrna!) |
 |
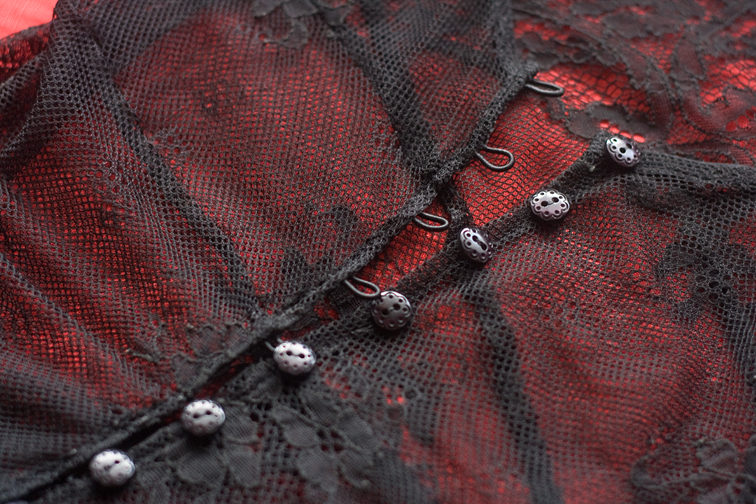
A lace dress with some side buttoning elastic loops…
(do you all recognise that button?!) |
 |
| and the back, because as sewers we always like to look at the back don’t we?! |
The last 2 images aren’t true rouleau loops, but use the commercially available elastic loops instead:
I find these semi-good, ie they have advantages and disadvantages. This lace dress is 12 years old and the elastic hasn’t given way yet, so it has a certain longevity. But you must preshrink the looping under heavy steam, and it tends to stretch as you sew it on, therefore a bit of easing is required – my advice is to cut it to the pattern measurement, it will want to stretch but just make it fit. And the garish white looping dyes nicely to an antique colour with a strong cup of tea and a teaspoon of salt!
And because some of you mentioned you have difficulty with making the actual loops, here is is quick phototutorial – a sort of picture-add-on to
the previous tips:
 |
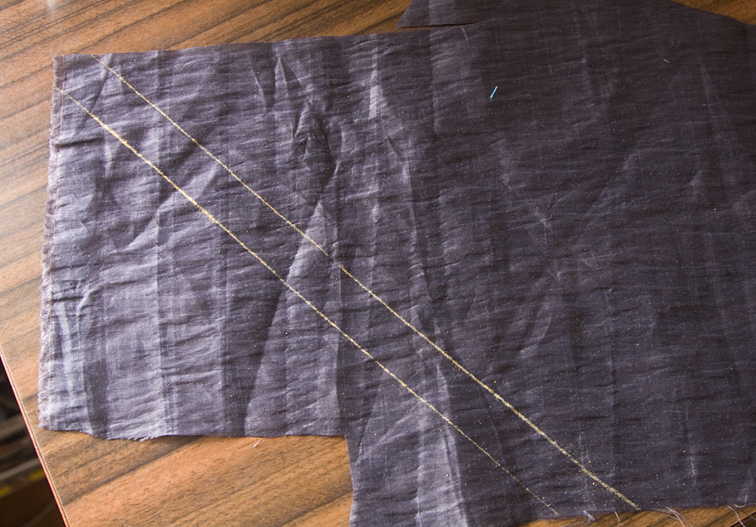
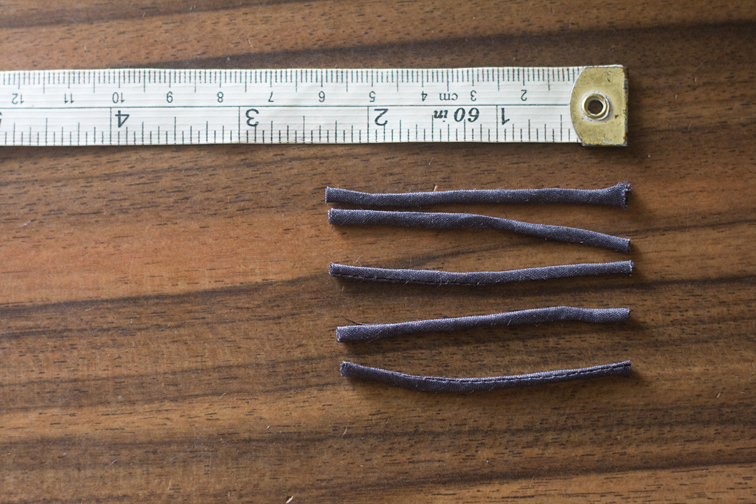
| Cut your loops on the bias 2cm wide, with one end to the selvedge if possible. |
 |
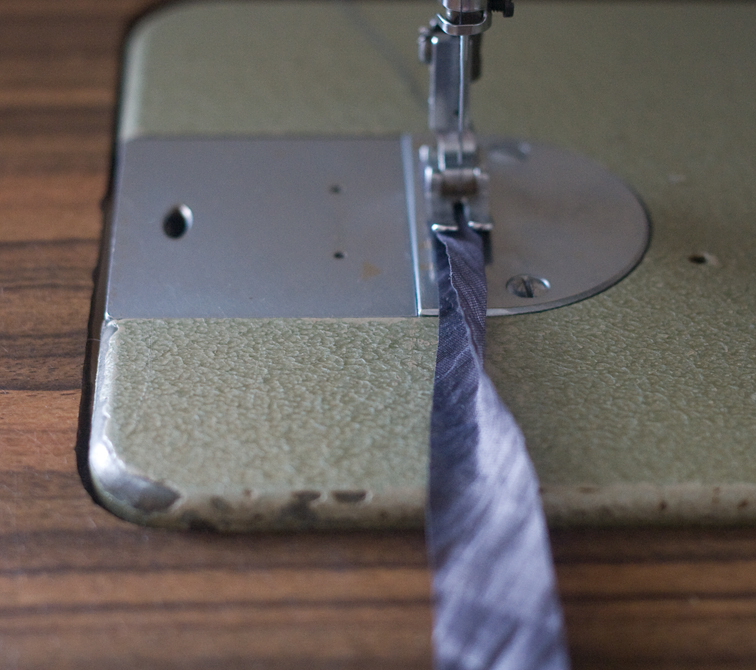
| Fold strip in half lengthwise, and stitch 3mm from folded edge. |
 |
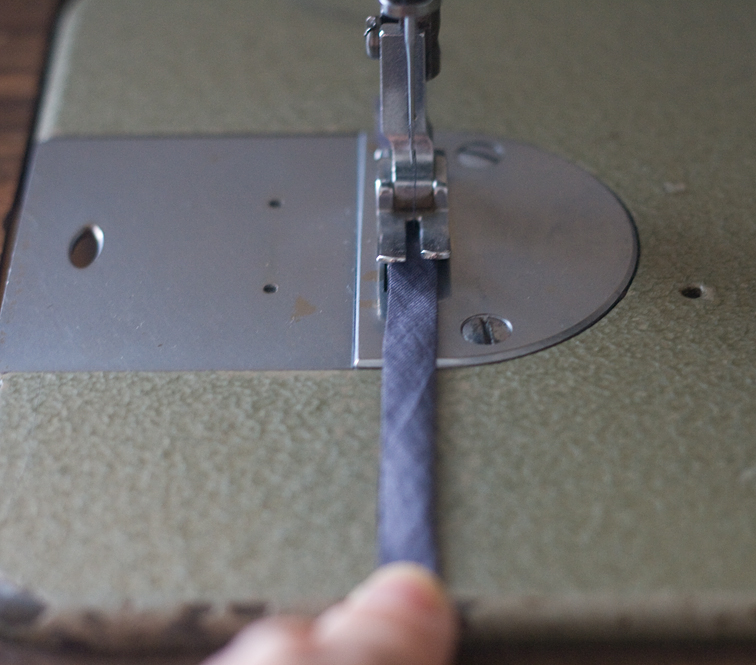
| That means I align the foldline (right side) to the middle of my foot. Stretch the fabric slightly as you sew. |
 |
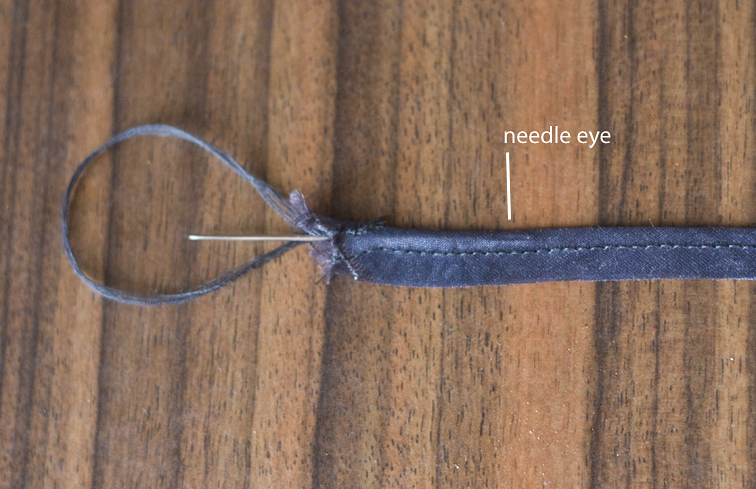
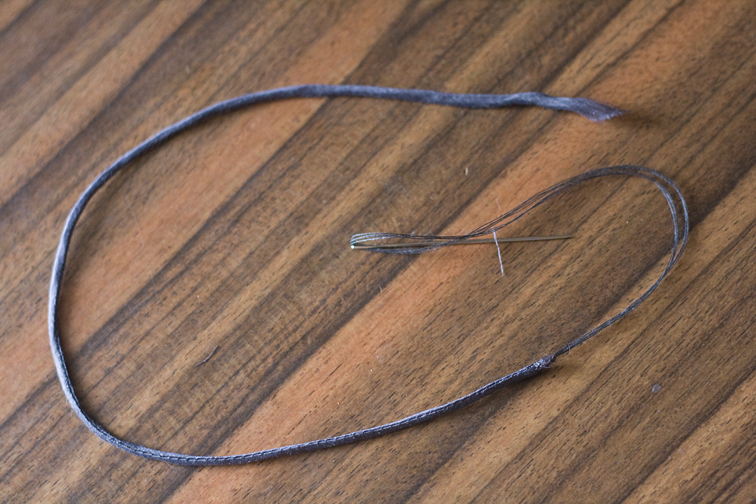
| I veer away from the foldline at the end to form a funnel – this makes it easier to turn through. Thread a large needle with several threads for strength. |
 |
| Attach the thread to the selvedge edge of the funnel – the selvedge won’t let you down halfway through the tube! |
 |
| Insert the eye of the needle into the tube… |
 |
| and thread it through until the thread is almost taken in. |
 |
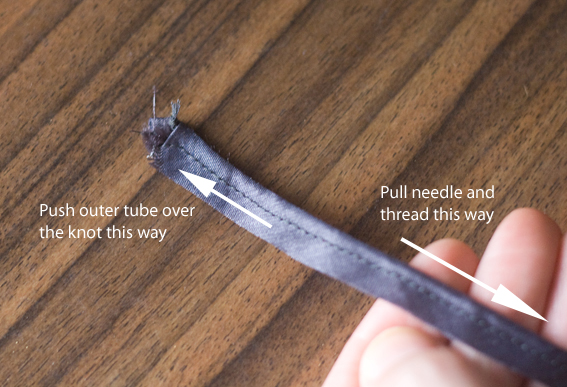
| Now holding the needle and thread taut, slide the tube over the knot. Pull the thread slightly to encourage the knot to slide into the tube. |
 |
| Use your thumb and forefinger to slide the outer tube over the knot, while pulling the needle and thread. (It doesn’t look like my thread is very taut, but that is because I am holding the camera!) It might take a bit of manipulation to get started, but once the tube starts forming you will find it easier. |
 |
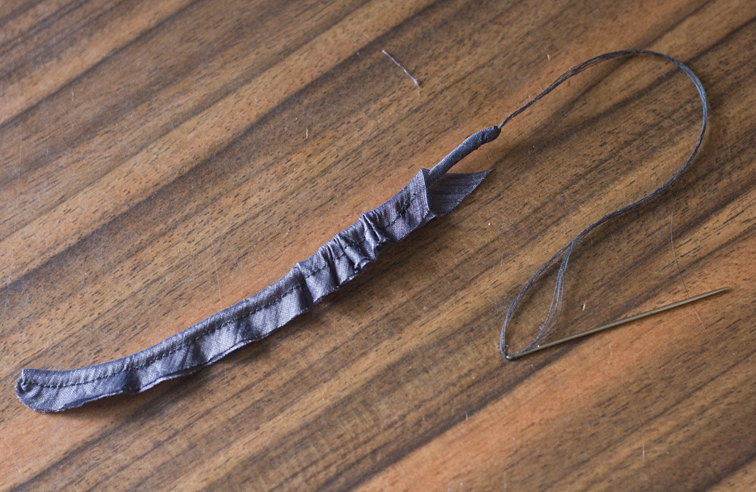
| Slide and pull, bit by bit, until the rouleau tube emerges from the end. Try not to get it all twisty. |
 |
| And soon you will have something resembling this. |
 |
| Now trim your loops to size and start sewing! |
In typical backwards fashion, my
last post has tips on applying loops to your garment. So check it out and give them a go on a future project!


Thank you for taking the time to do that tutorial, it is always nice to have such detailed pictures.
LikeLike
Thank you Sherry, another wonderful tutorial, your instructions are very easy to understand with great photography. Your archives are a treasure trove!
LikeLike
I'm a “need a picture” kind of person – now I can finish garments with some finesse. Thank you so much.
LikeLike
I have tried to make tubes this small a few times, varying methods including this one, with no success. you must be very dextrous, they look so good. anyway – great photos and maybe I will attempt again. thanks for the photos.
LikeLike
Beautiful work as always – I find your tutorials so incredibly helpful – as a hobby seamstress I'm always looking for ways to up my game.
I thought of you today as I was flicking through the Sunday Herald fashion section at a cafe. It featured loud trouser prints – and one of them from an uber cool designer – forget who – was in patchwork fabric!
LikeLike
I'm glad you find the tutorials helpful – as long as you do I'll keep them coming!
~Beth – I love the fine tubes, but they can be a wiggle to begin with, some fabrics are definitely easier than others!
~Mary Nanna – I'm really loving my patchwork fabric – in fact I have been scouring the web and found a lovely birdcage print that might need to be made into a 50's dress! Cotton is so comfortable and practical for summer.
LikeLike
Thanks for the pictures. Beautiful work. I wasn't aware of the loop tape before and will be on the look-out for it as I've always loved lots of little buttons. I imagine if it will tea dye that it will take other acid wash dyes as well. Something to try anyway.
LikeLike
The tutorial is amazing but the dresses that show the various loops, have been breathtakingly done. I am a beginner seamstress in awe of your skill.
LikeLike
I must consider using button loops far more often now – lovely tutorial!!
LikeLike