
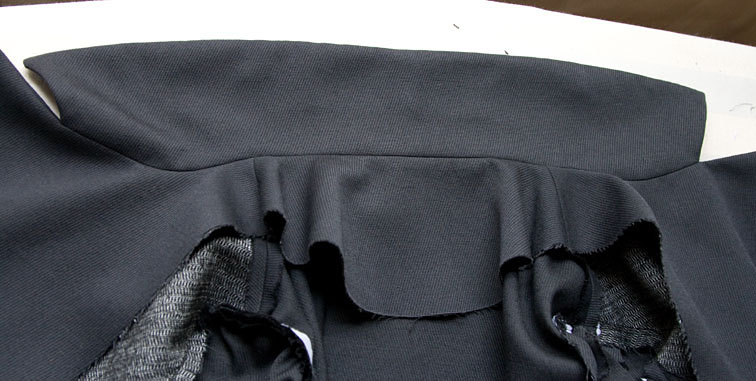
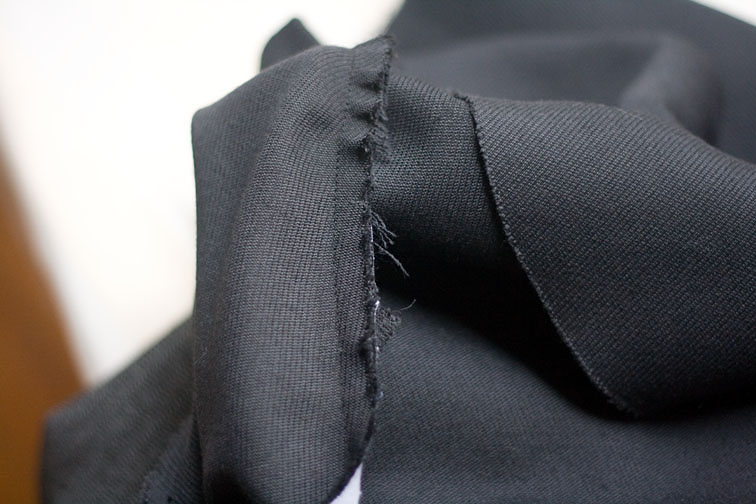
We’re going to stitch them together – match the raw edges of the lower seam allowances, and starting about 1cm behind the roll line, stitch close to the seam through the lower seam allowances to attach them:

Match the shoulder seams and CB notch:

With the two layers now attached the collar will roll as intended as our turn of cloth is built into the pattern.

The open seam reduces bulk.
Now, onto the sleeve, as per the title:
I’m going to set my sleeve in using gathering stitches – if it works for 100% polyester bridal satin, it will work for anything! My fabric – a cavalry twill – is not easy to ease, and using gathering stitches is my favourite method in times like these.
But first I always check from the outside that I have the correct sleeve for the correct armhole:

After yesterday, you now know I have a habit of sewing the wrong parts together…
I pin the shoulder and underarm:

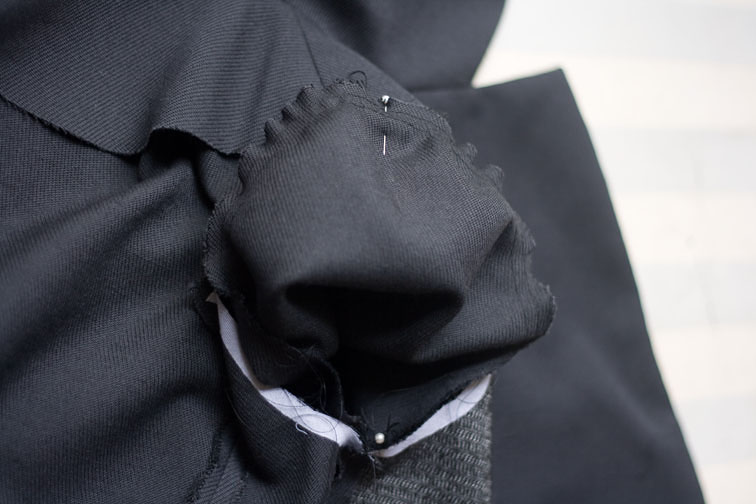
Depending on which sleeve you are setting in, start at either the front or back notch, and sew through the underarm seam to the next notch:
As you reach the gathers, adjust them to fit well between any notches – there is often a slight amount of ease to begin with:

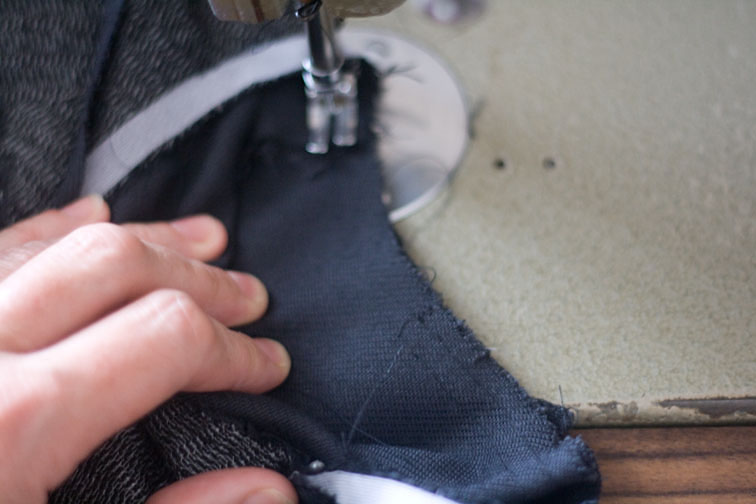
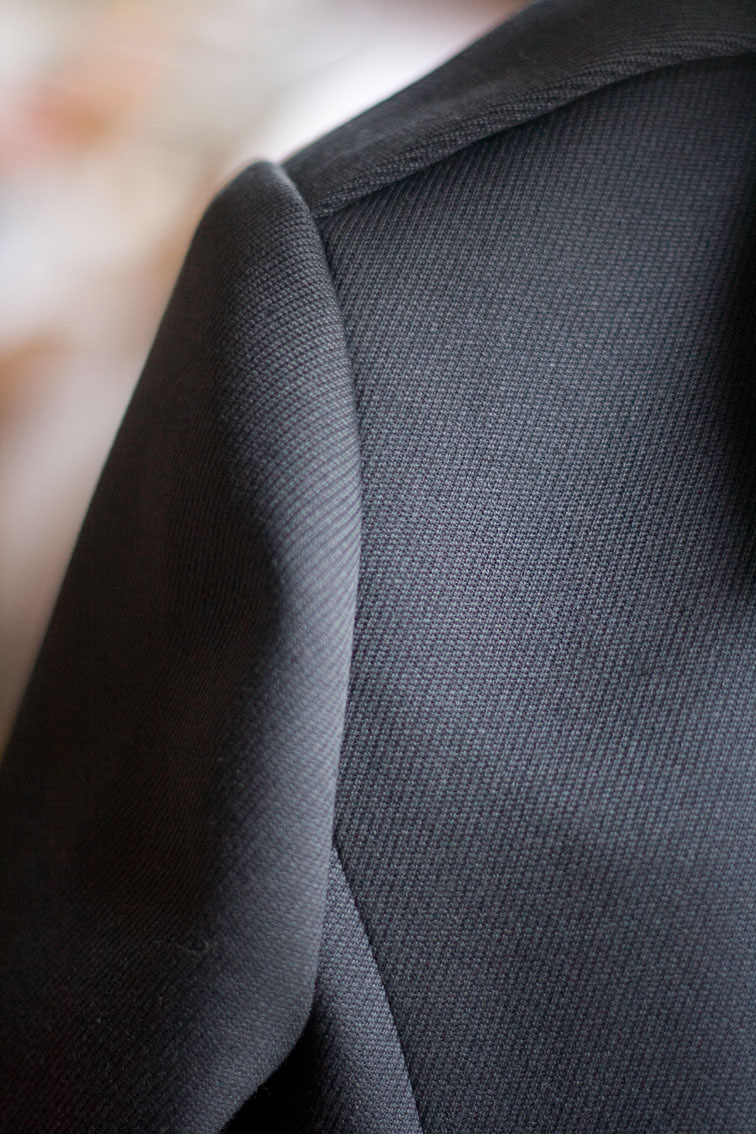
Check the stitching line is straight and parallel with the raw edges, both inside the sleeve and outside:

Put your fist inside the shoulder and check the outside too, for any puckers and bubbles:

It is best to fix them at this stage, rather than cross your fingers and hope the shoulder pad and wadding will hide flaws – they usually don’t, and the amount of unpicking will be tripled! How do I know?!
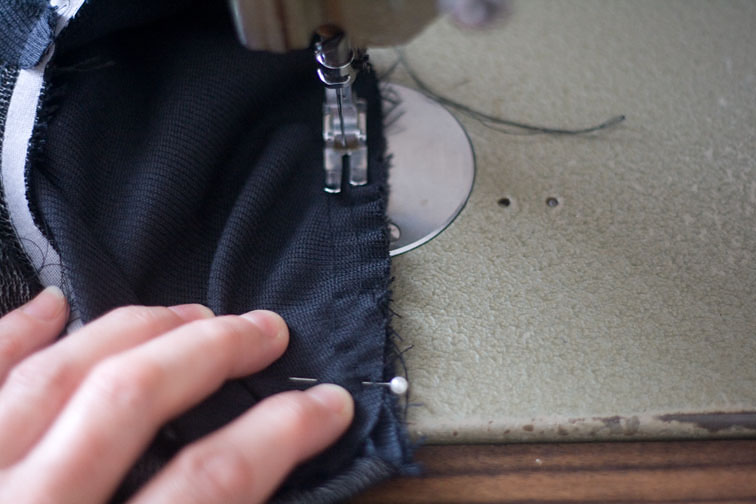
You can also insert the sleeve with the sleeve lowermost – it’s a little awkward, but the feed dogs help to ease in the sleeve as you sew. I use this method when there is not a lot to ease, or the fabric is easy to work with.
Before the shoulder pad and sleeve head wadding are inserted, give the sleeve head a press. Lay the body panel flat, with the inside of the sleeve showing like so:

Using the tip of your iron, press into the sleeve head about an inch, no further:
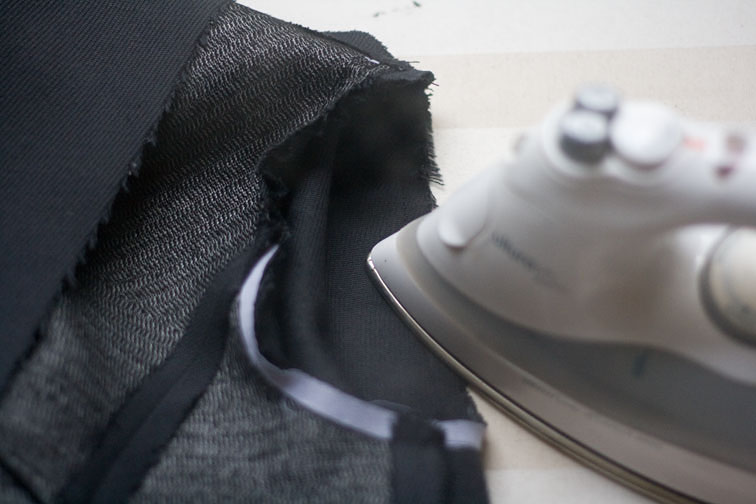
Take care not to crease the front and back panels. The aim is to smooth just inside the sleeve head, rather than the seam allowance:

Work your way around the full sleeve circumference this way. The seams are not pressed open like a usual seam. Once again inspect from the outside for any flaws:
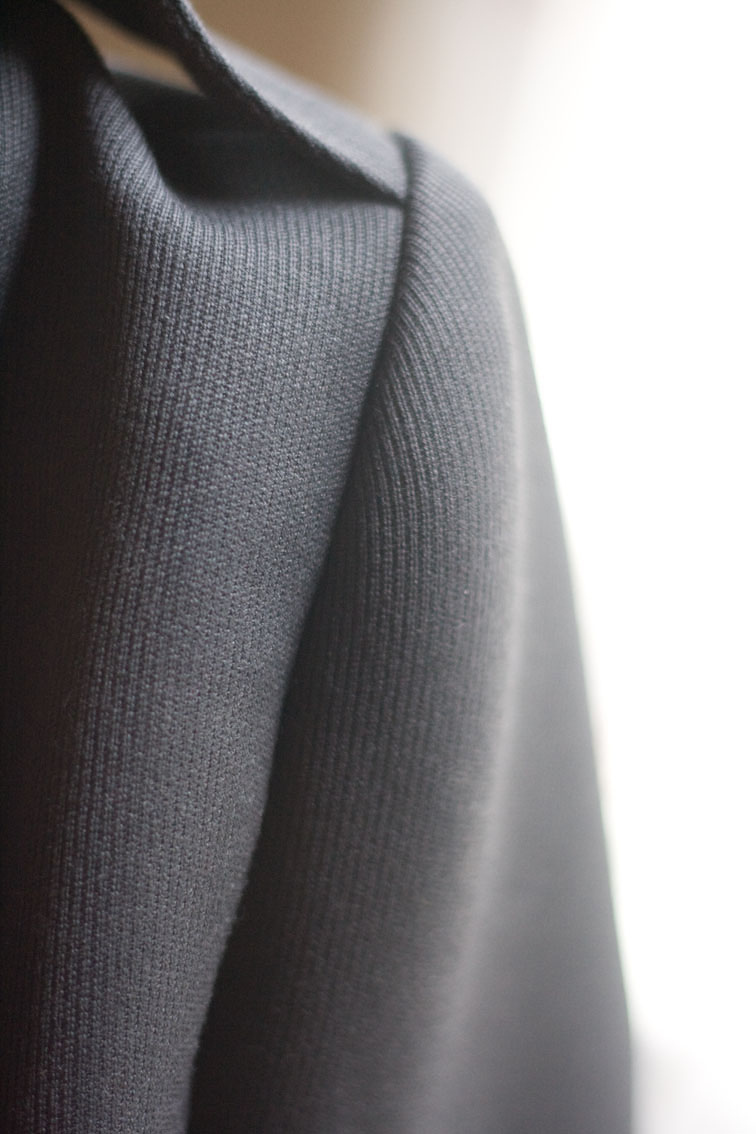
I had to reinsert one of my sleeves as they were sitting slightly differently even though the notches were spot on. I think it is because I am using a twill, which has a mind of it’s own behaves a little differently to an even weave.
Now the epaulettes are attached my coat is looking very airforce, so today I appropriately named it my ANZAC coat. Today is ANZAC day here in New Zealand and Australia – our memorial day for all the servicemen who have fought to keep our countries free, and there are several of them in most NZ families. Lest we forget…

I think that's a great name for your coat!
I was on to a good thing yesterday (and was planning to use a different method for the lining anyway) so kept going, my jacket's nearly complete now. I'm reading carefully to pick up any gems so I haven't dropped out…
I can't thank you enough for the confidence you've helped me build through this project. For once, I don't feel completely defeated by a jacket thanks to your lessons on careful preparation of the pattern. I'm feeling good enough about coats to tackle a long-standing UFO Frock Coat for my husband. He thanks you, too. 🙂
LikeLike
I thought the same thing about your coat when I saw the epaulets above the sleeve. 🙂 Happy ANZAC day.
Yet another thorough lesson and great tips for setting in a sleeve. I feel armed and dangerous now.
Like Steph, my confidence in not just making a jacket, buy my sewing overall has grown phenomenally. Thanks to you. You're an EXCELLENT teacher, Sherri and I'm SO glad I found your blog.
LikeLike
I love it when a project takes on a personal name and story. Nice to know when others have their memorial days, too–thank you for reminding us.
That's a neat little gentle pressing trick for the sleeve. I think I've been pressing allowances too hard and reinforcing wrinkles. I'm really crossing my fingers that mine turn out well as this is the first time I've worked with dupioni. Thank goodness that for once there isn't a ton of sleeve ease in my pattern. I'm still at the jet pockets but hopefully today and tomorrow I'll get more of the body done.
LikeLike
Your sleeve is beautiful – I have always struggled with puckered sleeve heads in the past – I'll have to give this method a try!
LikeLike
I agree with the other commenters – I'm not sewing a jacket yet, but I'm following along, and will be referring back to this series in the future when I plan to sew a few jackets this fall.
LikeLike
It is so nice to see truly lovely tailoring technique!
LikeLike
Just the best tutorial ever! Can you please expand on exactly what length & tension you set your gathering stitch on and also the distance – ie. at the 9mm mark and the 15 mm mark for the rows of gathering stitches. And do you run the gathering stitches from the front to back notches? Do you pull the inside gathering thread more to create a nicer edge around the sleeve? (to make this stand up slightly ) Thanks so much-I am binding your tutorial together for future reference.
LikeLike
~Anonymous – I lengthen my stitch length to 4-5mm, and stitch about 3mm either side of the stitching line. You only need to place gathering stitches where ease is required, draw up the threads evenly and adjust to fit!
LikeLike
i think this is my favorite post/tutorial/piece of writing ever – you've no idea how valuable this is!!!! thankyou thankyou thankyou xx
LikeLike
I am now setting in my sleeves. Thank you for this explanation. I have a lot of ease in my Burda pattern, so am struggling a bit, but hopefully will have them in this evening!
LikeLike
You are such a great teacher Sheryl. I always look forward to your 5 monthly sewing tips and seriously find at least one gem in there that I’ve never seen or thought of before. For example in this tutorial you demonstrate where exactly on the sleeve the most amount of ease should be (the curve of the shoulder) which of course makes perfect sense but I never really considered this before!! Whenever I’m setting in sleeves I’ll always think of this 🙂
LikeLike