French seams are used on fine and sheer fabrics, and they give a more attractive finish than simply overlocking. However they can be a bit fiddly and many sewers give up on them, but here is a way to get perfect seams even with the wigglyest of fabrics!
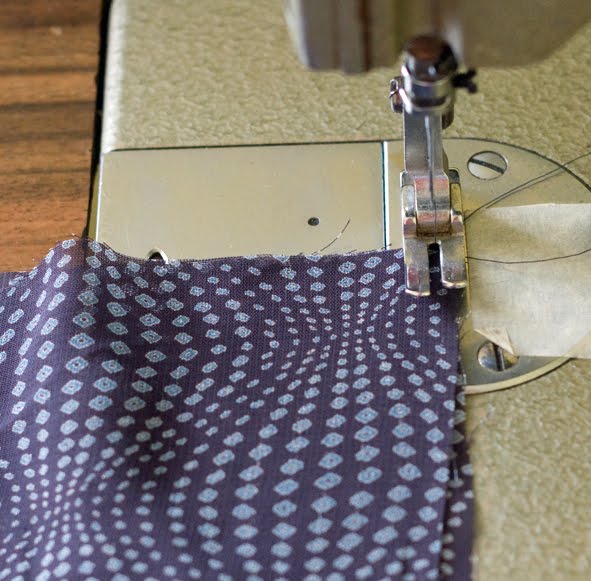
Here my total seam allowance is 10mm, so I stitch 3mm, and then 5mm from the edge. The extra 2mm is taken up in the turn of the fabric.
Begin by stitching the wrong sides together at 3mm, this is half a foot width on my machine:
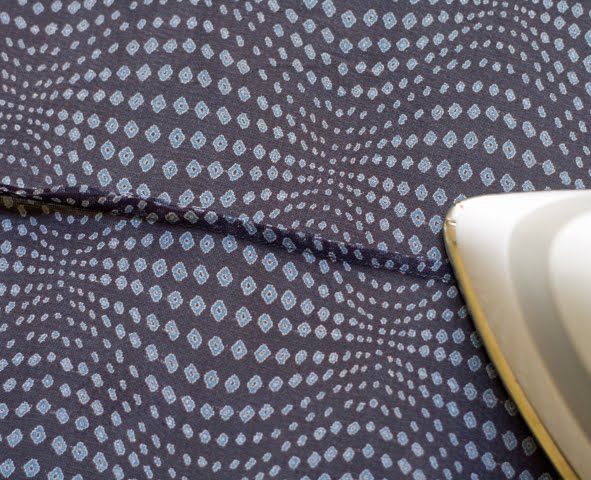
On your ironing board lay your seam flat and trim the frayed threads even, so they don’t stick out of your seam later. Trust me, it is much easier to trim them now than leave it until later! You don’t need to trim the allowance narrower, as 3mm is the exact width you want it to be.

Press the raw edges lightly to one side, remember this will be your right side when finished:
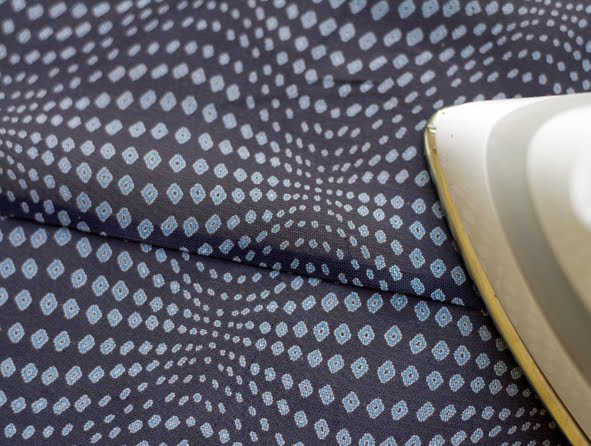
Then turn the fabric over and press the seam well from the wrong side:
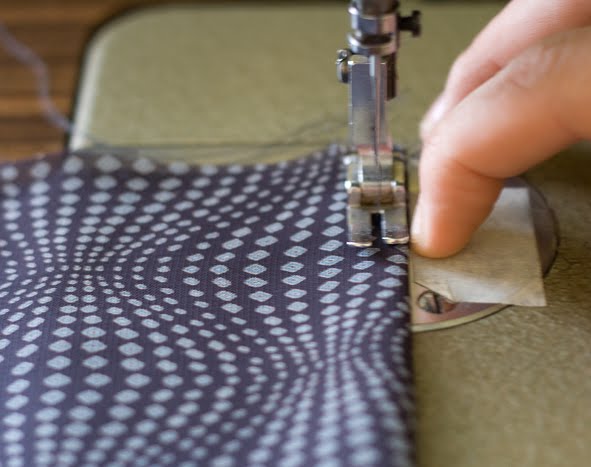
Now fold your fabric right sides together so the raw edges are enclosed, and your previous stitching is right on the fold, then stitch your french seam at 5mm. Because there are two different thicknesses under the foot the fabric sometimes wavers a bit, so I butt my fingernail up against the edge of the foot, making it really easy to sew straight:
And there you have it – a perfect french seam. On the outside:

and on the inside:
Now that’s nicer than overlocking isn’t it?

Thank you so much for this tip, my mistake has been missing turn of the fabric allowance. Trimming the frayed edges is also a great tip, I've dealt with fibers sticking out of my seams before.
LikeLike
Thank you, Sherry, this is just what I needed. You're exactly right about the waver created from the different thicknesses, and I do think the “finger butting” trick will be the answer I've needed.
LikeLike