My latest project – the Coal-Miner’s Daughter dress – had a convertible collar, so I took the opportunity to take a few step-by-step photos and add another sewing tutorial to the files. A convertible collar can be worn either open or buttoned, hence the name, and it is commonly seen on blouses and shirtdresses.
I think it is more feminine than a shirt collar with a stand and it sits flatter around the neckline when open, but I do love a good collar and stand too!
The method I’m describing is for a neckline with front neck facings but no back neck facings – so the back neckline requires neatening. There is no handsewing involved and everything is sewn by machine – yay!
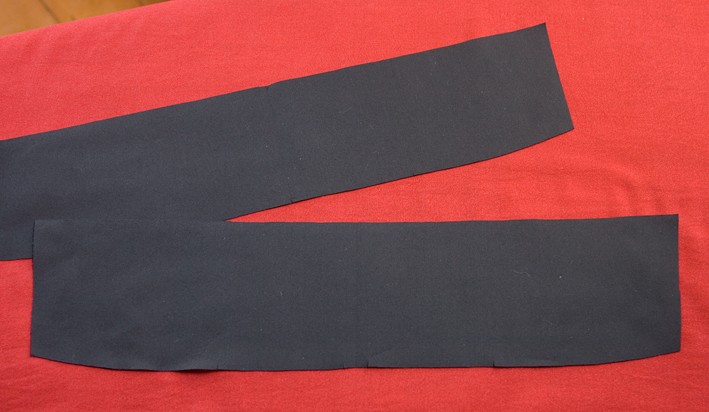
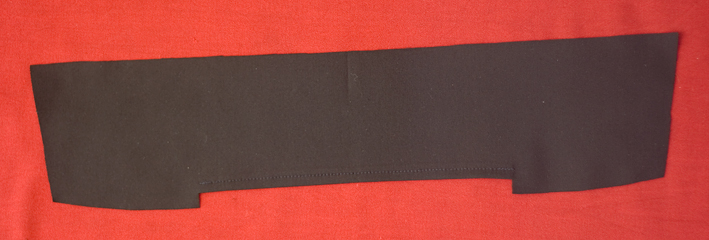
The collars should have notches on the neckline edge – one at the CB, one at each shoulder seam. I mark my top collar with a double CB notch so I can easily tell between the two, you can just see it here.
WARNING: This step is a variation I made it up – so proceed at your own risk!
On the top collar only, I clip the seam allowance to the stitching line approx 1.5cm (1/2″) anterior to the shoulder notch. Most people will clip at the shoulder notch, but I clip away from it to better hide all the raw edges, plus I think it is actually stronger this way – I’ve seen a few shirts fray when they were clipped right at the shoulder seam notch.
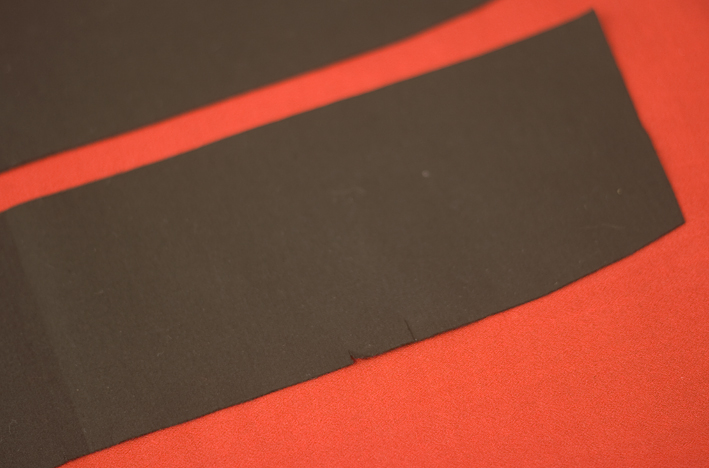
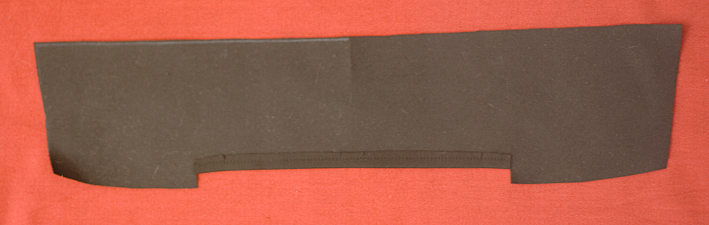
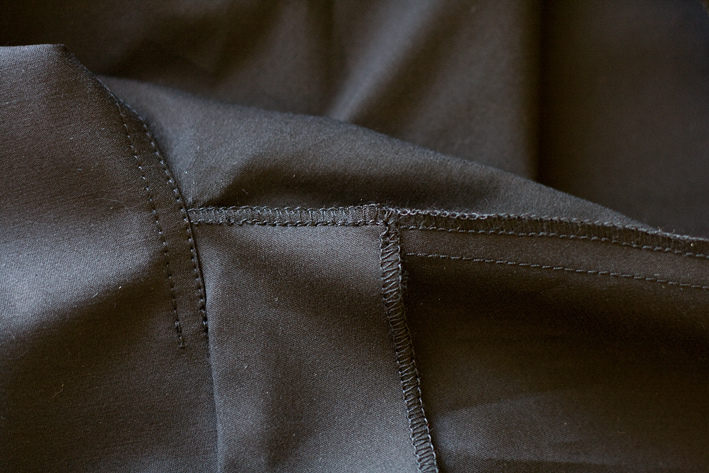
Now back to standard practice – turn under the seam allowance between your clips. You have a choice – you can simply press it, edgestitch it, or stitch it at 6mm like I have shown you here, but wouldn’t a fancy stitch like scallops or zig-zag look cute too, and in contrast? You will see this bit, so might as well make it look pretty!
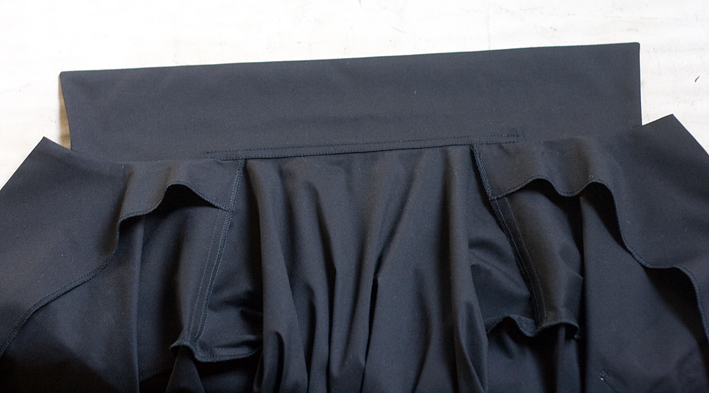
This is what the wrong side of your top collar will look like if you’ve done it plain like me:
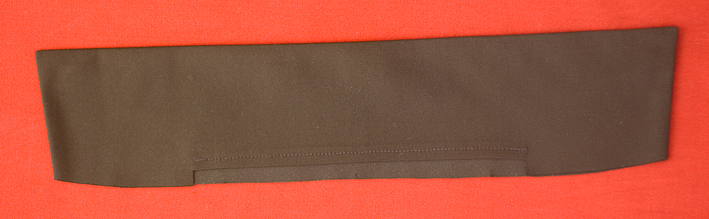
Now bag out your collar, press it and make it look it’s best:
I like to tack the front edges of the collar together like in the next photo – it is easier to keep all the layers together when you start stitching it to your neckline. Then start sewing your collar to the neckline at 1cm or whatever your seam allowance is…
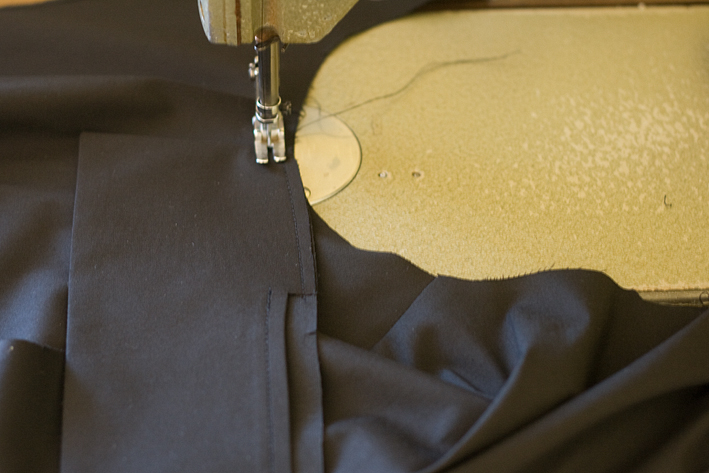
See the original shoulder notch on the under collar? That is the one that aligns with the shoulder seam.
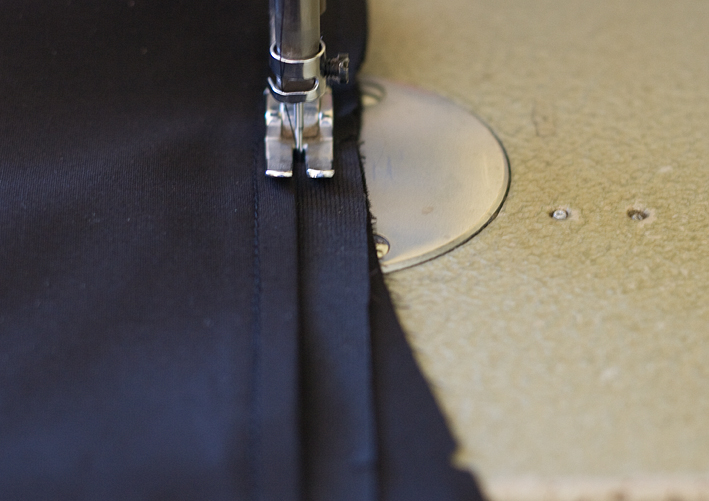
And when you get to the clipped-and-turned-under-bit, continue stitching close to the foldline but not catching it, I line it up with the inner edge of my presser foot:
This is what your collar looks like attached:

Now you fold the front neck facing into place and sew in your previous stitching line, stopping at the clip-and-folded-under-bit.

Like this:

Clip at this point, through the the front neck facing, the under collar, and the front neckline:


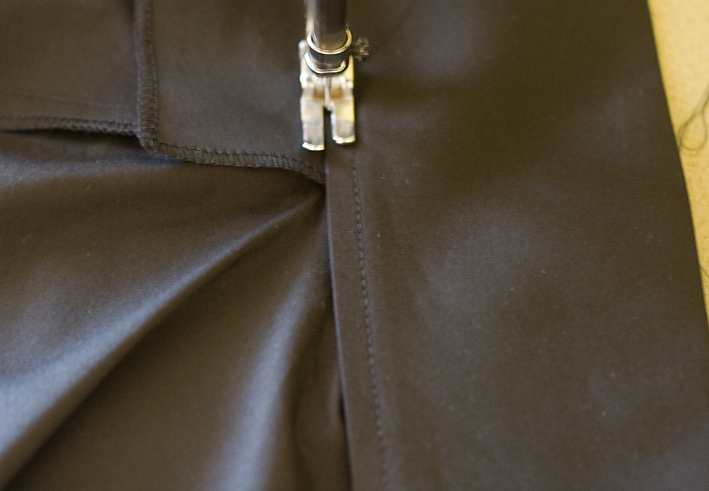
The next step is edgestitching the opening closed. If you place the foldline of your top collar 1mm over the previously sewn neck seam, then edgestitch at 1mm, your stitching will be ‘in the ditch’ on the reverse…. theoretically.
I tack my facing to the shoulder seam allowance so it doesn’t flap around:
All done – a convertible collar with no handsewing involved!

Very, very pretty. Old dog learning a new trick here- and I think my beginner sewers will like this, too. This will be much easier for them and give a better result. Thanks!
LikeLiked by 1 person
Another fantastic tutorial – many thanks! A very happy new year to you.
LikeLike
I will definitely have to try moving the snip placement, as you do. Wonderful tutorial!
LikeLike
Your tutorials are so helpful – I'm scared about the 1mm accuracy though! I will have to be very brave to trust myself to pull that off – I have never been able to sew one side and catch the other and make it look good – it's a skill worth learning though so I'll just have to practice!
Your coal miners dress is just adorable – the colours really go well with your colouring which looks so Irish to me – the dark hair and blue eyes.
LikeLike
I'm not up to sewing collars just yet – but I only found your blog yesterday and I want to complement your house dress concept. It is so great to have something that you can just throw on that makes you feel dressed – and like you say – if someone happens to come to the door! I look forward to following your blog.
LikeLike
~Mary Nanna – he, he, notice I said theoretically, and not practically! Also notice I didn't show you the reverse of mine!! There is nothing wrong with a bit of handstitching if that is easier.
And yes my great-great-grandfather was Irish – he was a guard on a convict ship to Australia and never went home!
LikeLike
I love your tutorials too! Thanks so much for this.
I don't want to be demanding but can you do one on darts? I saw your comment on Tasia's blog about marking the centre of the dart where the fabric folds. Sounds like a plan, but I'm interested in how you'd do it for one of those ones that start and finish within the garment? ie. not a triangle to the seam line.
It would come in handy for my current project!
lore
x
LikeLike
Thanks Sherry – I have my daughter's shirt to make (next in line after harem pants) and will try this out. Your tutes are fantastic and thank you for putting in the time to explain things – very much appreciated.
LikeLike
~lore – you read my mind – I was hoping to do one soon, so will bring it forward on the to do list!
LikeLike
you're the best !
lore
x
LikeLike
Now that is brilliant! I usually finish the bit that shows with a strip of bias but I like your method SO MUCH BETTER! Thanks for yet another really helpful (and very clearly explained and illustrated) tutorial.
LikeLike
Ok, I'm having a hard time wrapping my brain around this at the moment but I'm going to bookmark this for future reference. I made a traditional shirt dress and struggled with the collar. I think this is the same sort of collar. I had the most trouble where the ends of the collar fit in between the facing and outer layer. Thanks for the tutorial!
LikeLike
I just came across your blog via AnaJan's post about your jacket/coat RTW sew-along. And, of course, I had to check out the older entries upon reading the one that she linked to. Your blog is right up my alley — I am a huge fan of all industrial sewing techniques that I've ever tried (whenever I can find one, so far it's just been fashion-incubator.com tutorials) AND I am currently taking college classes to learn patternmaking. Incidentally, I was just sewing a convertible collar last week as part of my non-school training, and it's so neat to see this method of doing it! (It looks easier and more “reliably repeatable” than what I've been doing.) Thank you so much for posting this tutorial.
LikeLike
Just coming back to this via link from Tanit-Isis. I don't how I missed this post earlier…
Excellent tutorial! This will be VERY useful.
LikeLike
Thank you for all of your great tutorials. I recently used this convertible collar one and it turned out very nicely indeed (save for some less-than-accurate edgestitching, but practice makes perfect, right?)!
LikeLike
Hi Sherry
I used your method and it looks so neat and professional….thanks so much for such an informative well written easy to understand tutorial. Just a question, could you also stitch the facing with the collar/neckline all in one go instead of going back and attaching the facing to the neckline? Look forward to more of your tutorials!
Lexley
LikeLike
If there is a back neck facing you can stitch it all in one!
LikeLike
Great tutorial! I'm planning to use this method on a shirt dress I'm making, but I'm having trouble deciding how to cut the collar and undercollar. I know it's common in tailoring to cut the undercollar in two pieces on the bias (as shown in your RTW tailoring tutorial), but I see you don't do that with this shirt collar. Is bias cutting not necessary here because the cloth allowance is so small? If cut on grain, does it run top to bottom or end to end? Thanks!
LikeLike